

How To Install A Locking Nut On A Guitar
The locking nut is integral to the loftier-performance tremolo organization - it removes the non-playing part of each string from the equation by locking information technology down. This Floyd Rose one is the well-nigh commonplace but it's likewise quite common to see the nut top set up incorrect - often by the factory.
We effigy information technology must be likewise fiddly for the regular assembly line to get it correct each time and then they err on the high side each fourth dimension. Mankind has not come this far to put up with that modest annoyance! Beingness as this volition be set for life, let'south take care to do this properly and information technology will be a modest but important victory that you lot tin reap the rewards from!
Fix a nut as well low and it volition buzz on 1st fret; set up too loftier and it'southward difficult work and intonates out of tune. Adjusting takes a couple of specialized tools and some conscientious measuring simply tin get you the comfortable activeness yous so desperately crave. After all, setting the nut pinnacle is but equally of import as setting the bridge top.
What you demand
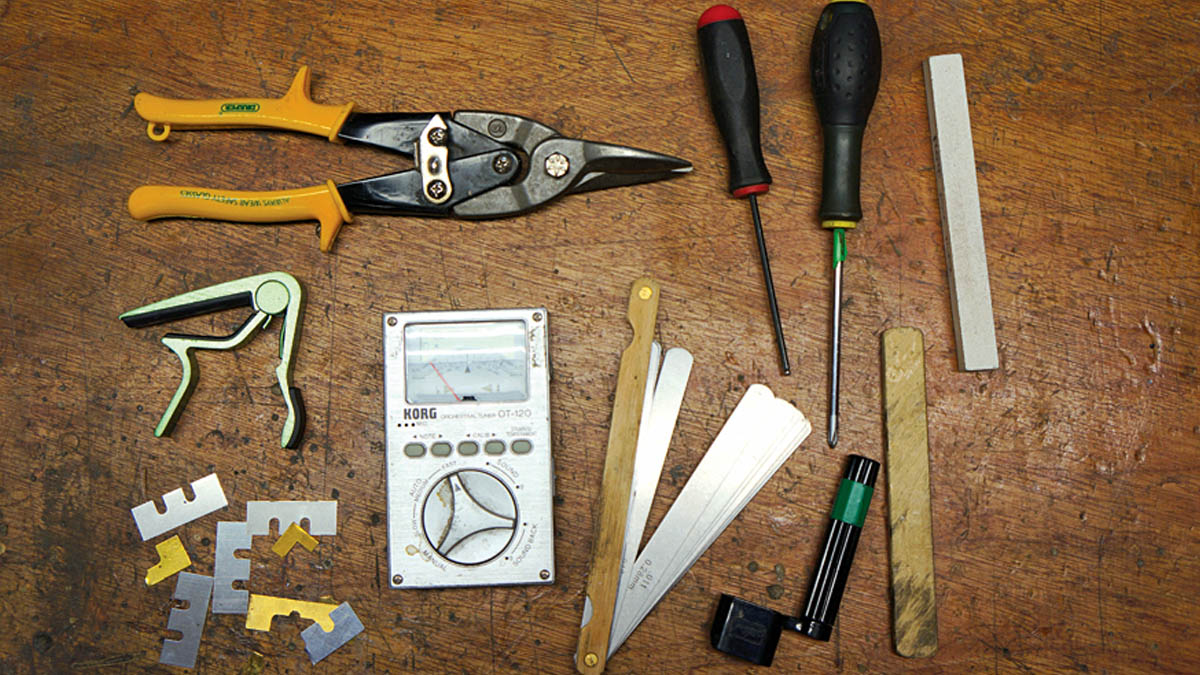
- PH1 Screwdriver
- 2.5mm, 3mm and 4mm allen keys
- Feeler gauge
- Fresh strings
- Stringwinder
- Stringcutters
- Specialised sanding block faced with 120 dust sandpaper
- 2 capos
- Tuner
- Wooden strip for blocking the bridge
- Tin can snips for creating shims
- A beer can makes brill shim material
SKILL LEVEL: MEDIUM
Pace 1
Let'due south go to work - string up your guitar with a fresh set of strings. Information technology's not a skilful idea to set up anything around old worn strings, especially if they take bends or kinks in them! You don't need the locking clamps around at the moment so stash them abroad safely.
Step 2
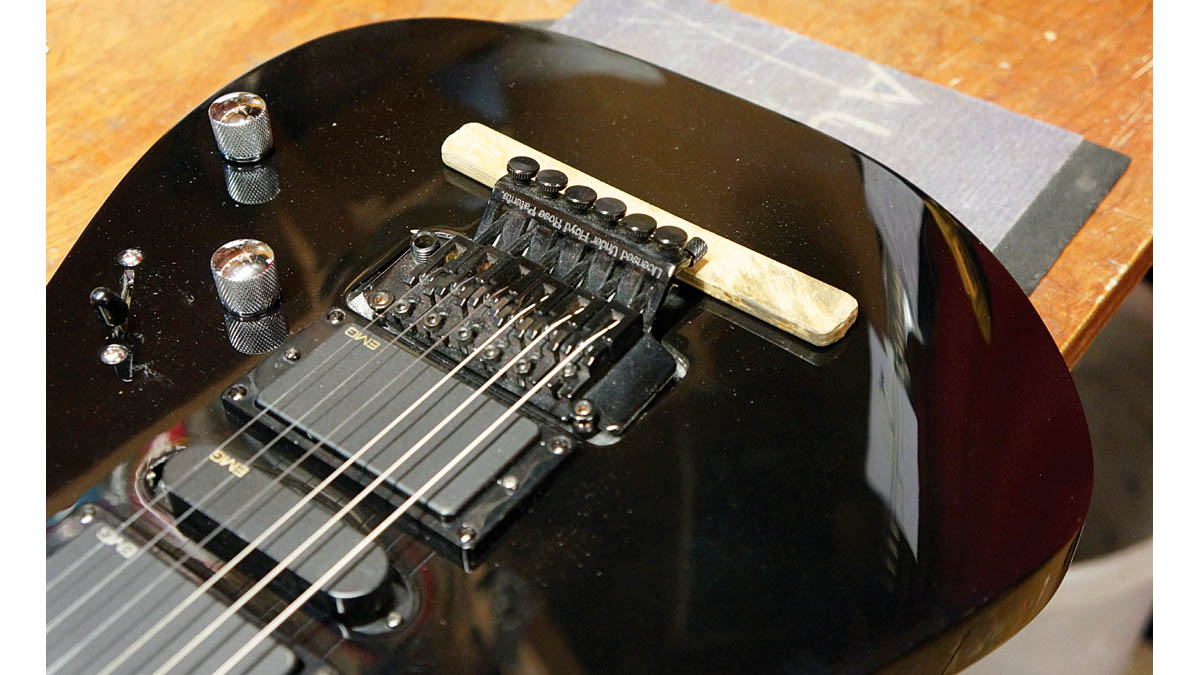
As a Floyd Rose veteran I don't need to tell you lot about the woes of tuning this system upward. Let's practise ourselves a favour and cake the bridge off temporarily. This trusty piece of woods allows u.s. to go on with repeat tuning and make some progress on addressing the nut height.
Step iii
We absolutely cannot adjust nut pinnacle unless the truss rod is set. Press on the 1st fret then press down on the 15th fret and we'll use the direct string every bit a guide to see how bent frontwards the neck is. The feeler gauge is put over 8th or 9th fret underneath the string; .007" is the magic clearance. Conform the truss rod appropriately.
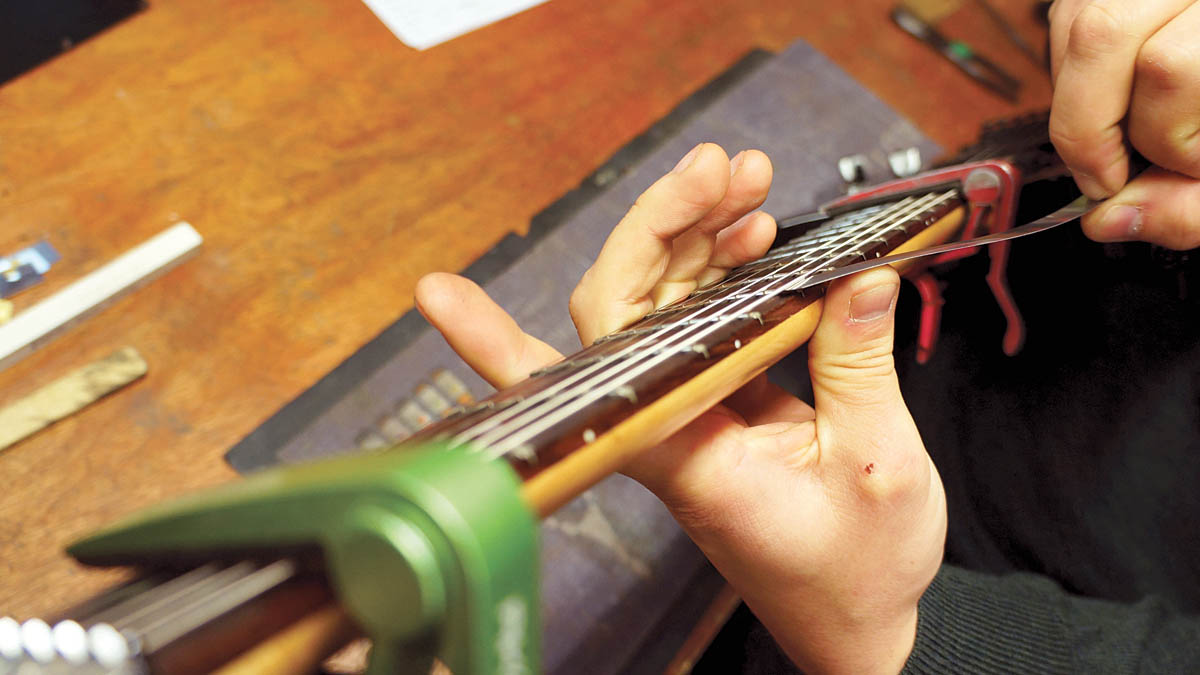
Pace four
Stick the capo onto the 3rd fret and check the gap over the 1st fret. In that location should be a clearance of .002" to .006" measured with a feeler gauge. Exist sure to accurately measure each side. We similar the high Due east cord to exist the lowest and the bass E cord to have more clearance to allow for a bit of ferocity.
Footstep 5
The readings from stride 4 will determine if yous have route A or route B after, merely whichever, get this matter out of the way. We'll be lifting the strings off so nosotros can set on nether the nut; this string servant just gets in the fashion. We'll put it dorsum on later and set the height.
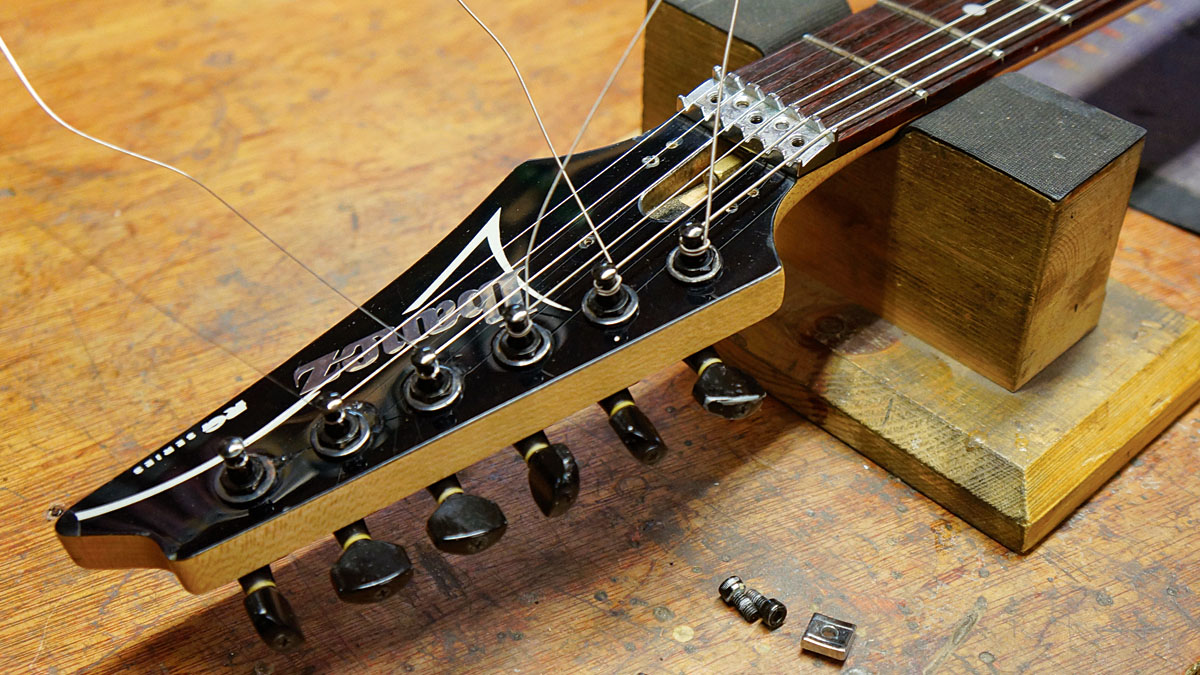
Step 6
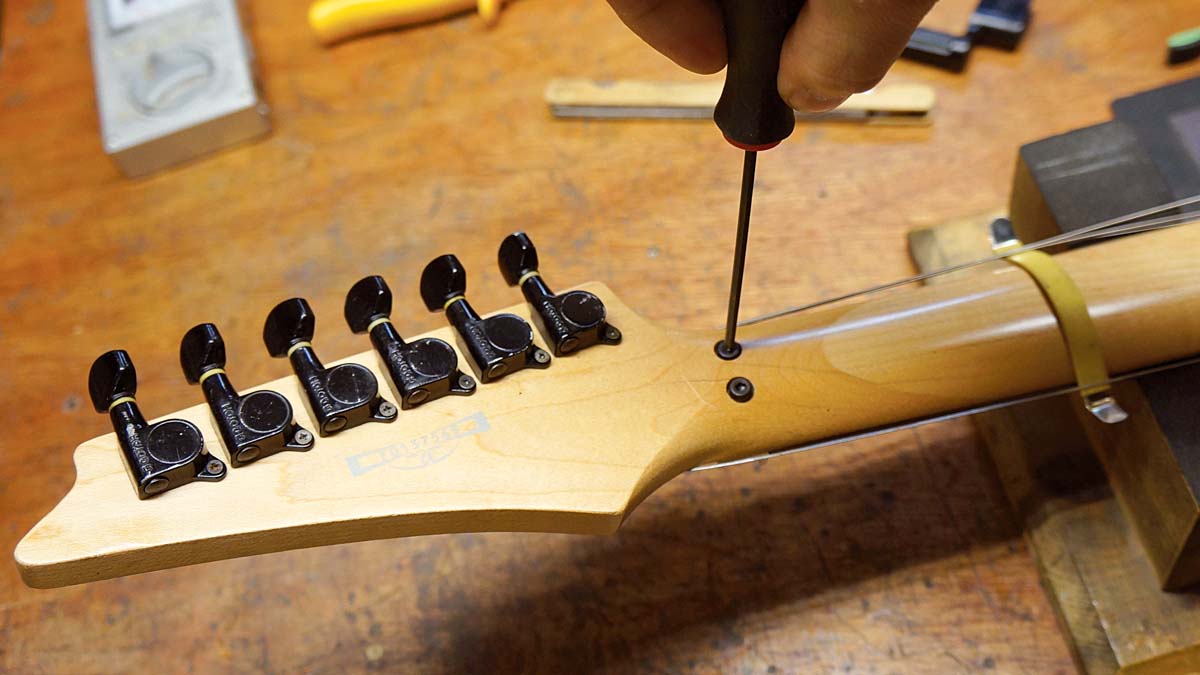
At that place are two ways that a locking nut is attached; some are bolted on from the rear and some are screwed in from the front - the screws hide under the string clamps. With bolts, take note of the mini washers and star washers that will fall out. Make sure you don't lose annihilation!
Step 7
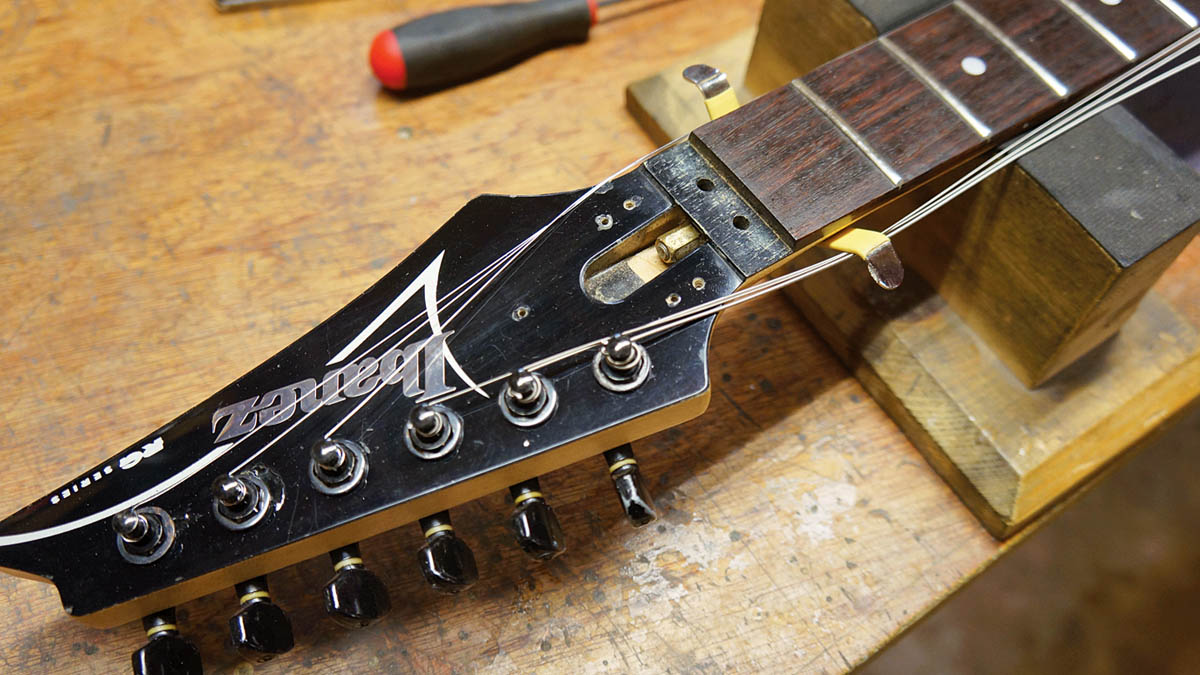
Peachy, now we have access to the pad that the nut unit sits on. Based on your reading in stride four follow route A if your clearances were too large and follow route B if your clearances were also small-scale. Do not exist tempted to file downwardly the bottom of the metallic nut unit - it's rock hard! Skip to step 10 for route B.
Step eight
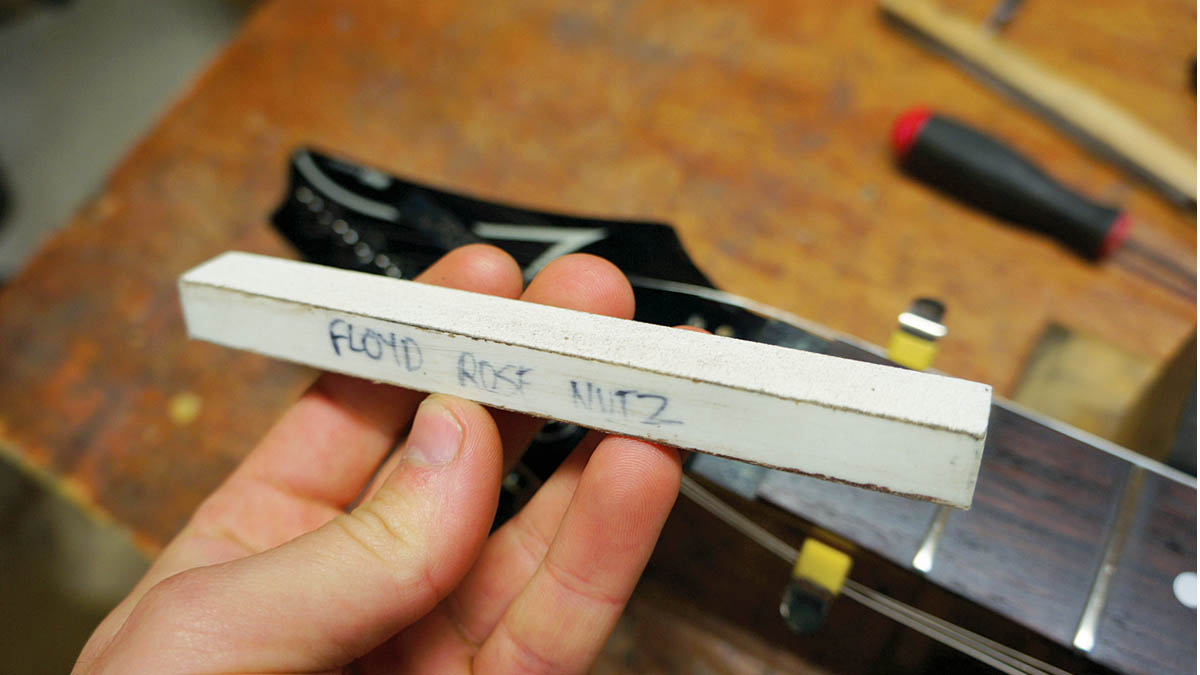
Route A Function 1 - initial nut clearance was too large. We've made a specialized sanding block from a piece of Micarta with 120 dust paper double-side taped on. The width is absolutely fundamental equally well every bit it beingness 100% flat. The timber bed is hardwood so it will piece of work slowly at all-time - that suits us for fine-tuning!
Footstep 9
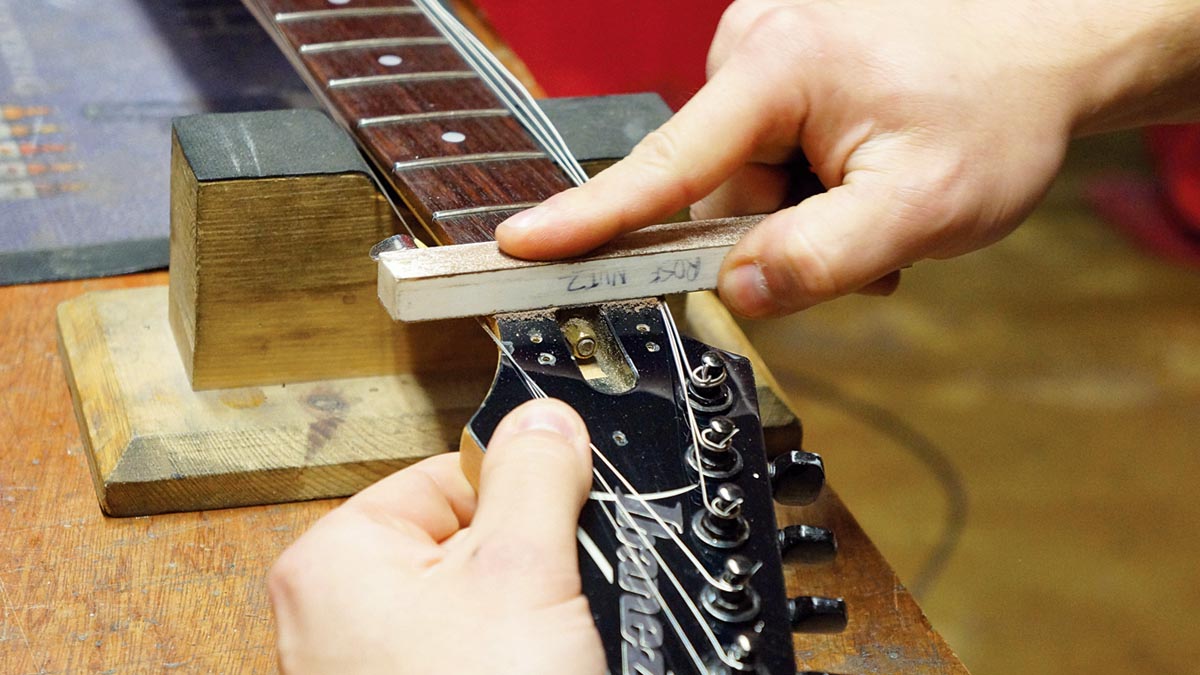
Route A Part 2 - it's all about technique. Begin to work the timber with the sanding block beingness incredibly conscientious. You practice not desire the tool to skid and scratch the headstock. The hardest thing to get right is to keep parallel and not accidentally round off the timber. The bottom of the nut is flat, don't forget.
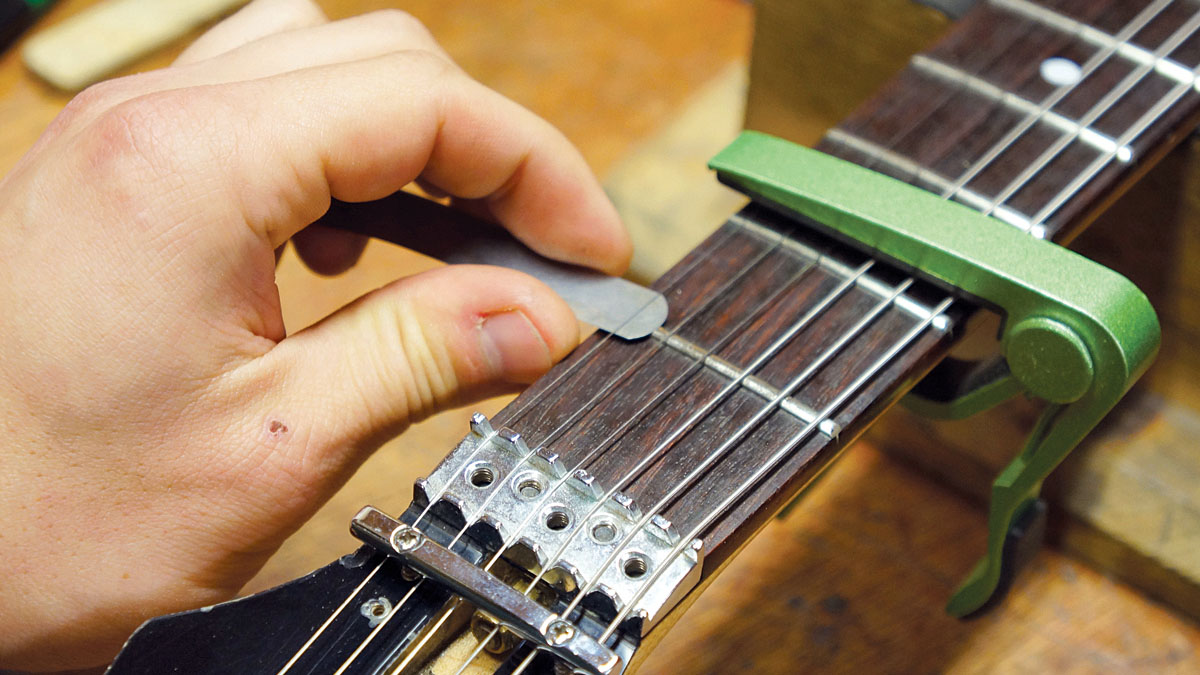
Pace 10
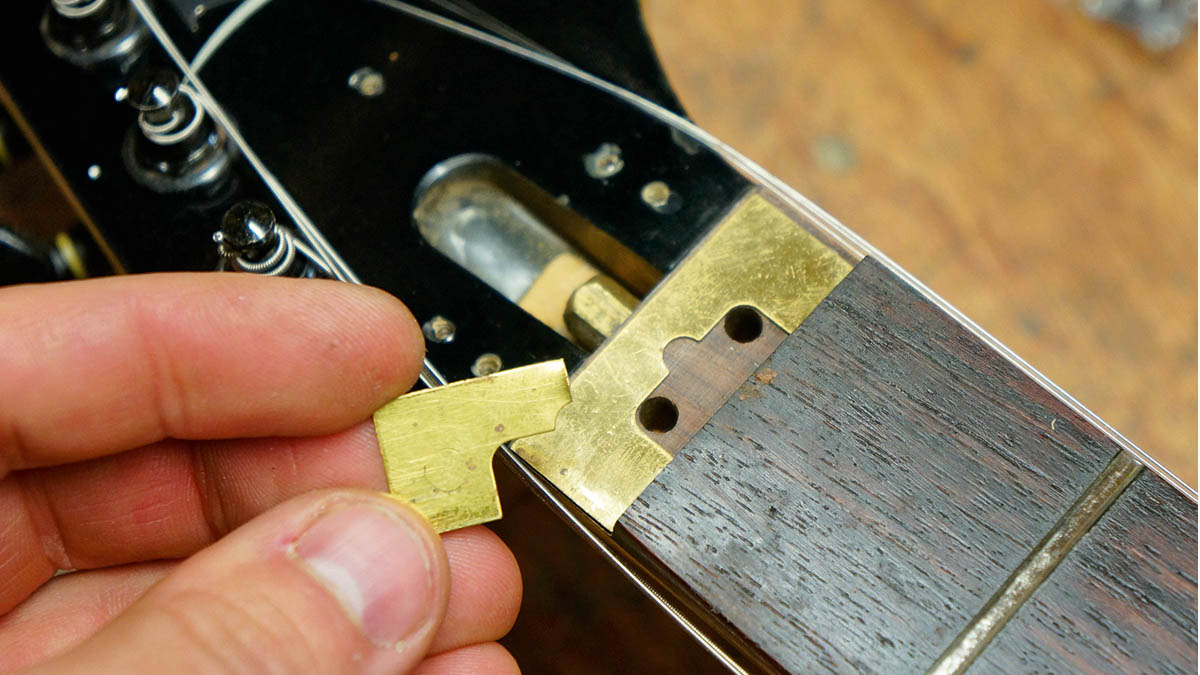
Route B - initial nut clearance was also minor. In this case nosotros'll shim the nut up to its right clearance. Sparse metallic shims should be trapped under the nut to fine-tune the meridian. If you lot don't have some you can re-purpose a beer can subsequently enjoyment using some tin snips. Only be conscientious as these become lethally sharp.
Stride 11
Whether the process took you downwards route A or B, this is the critical function - checking again and knowing when to terminate! The strings must be replaced and fully tuned to examination your nut clearances. Tightening up the nut fastenings helps as well and information technology squishes downward a lilliputian. If yous need to make a change head back to Route A or B and repeat.
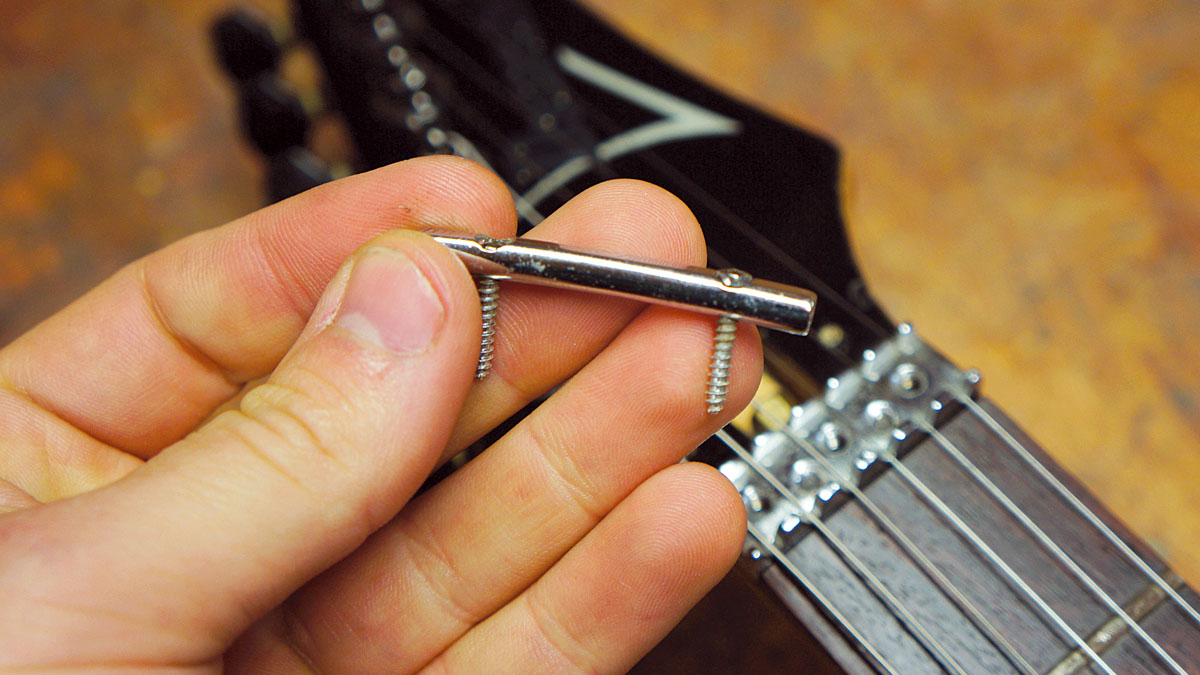
Stride 12
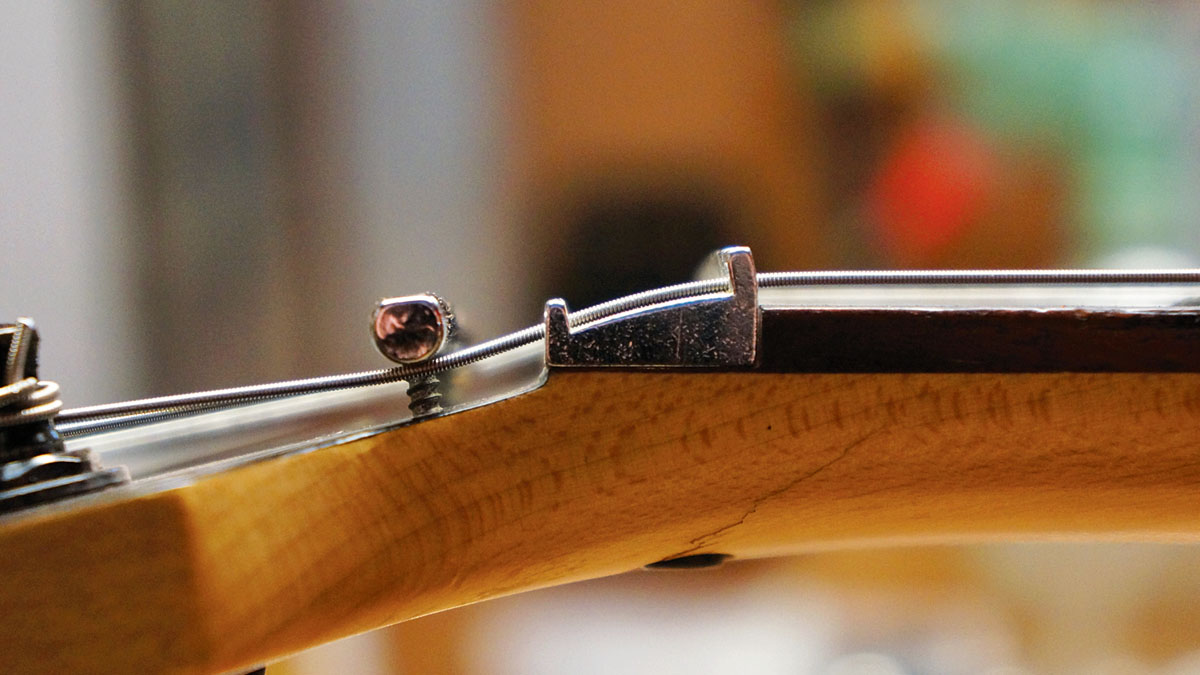
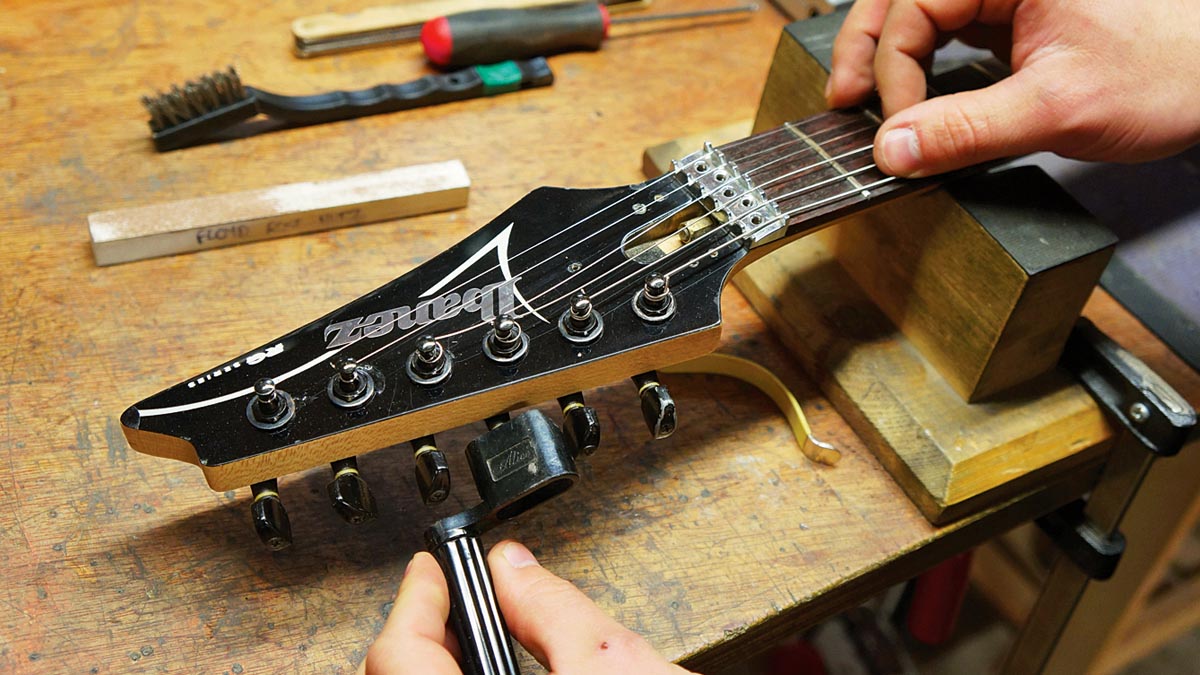
The nut is set and it'south gear up for life. This pain-in-the-ass job will not take to be set over again unless you convert to playing slide guitar. Allow'southward set the string retainer height. It should be tightened so each string touches the back of the locking nut unit of measurement. This means that when you clench the string locks back up information technology doesn't raise the pitch.
![]()
Thanks for reading five articles this calendar month*
Join now for unlimited access
United states of america pricing $3.99 per month or $39.00 per year
UK pricing £2.99 per month or £29.00 per year
Europe pricing €3.49 per month or €34.00 per twelvemonth
*Read 5 free articles per calendar month without a subscription

Source: https://www.guitarworld.com/lessons/how-to-permanently-set-your-guitars-locking-nut-height
Posted by: mccraryhisamoss.blogspot.com
0 Response to "How To Install A Locking Nut On A Guitar"
Post a Comment